
Latest products
die casting mold design how to make a brass-casting mold | ehow
by:Hanway
2019-08-17
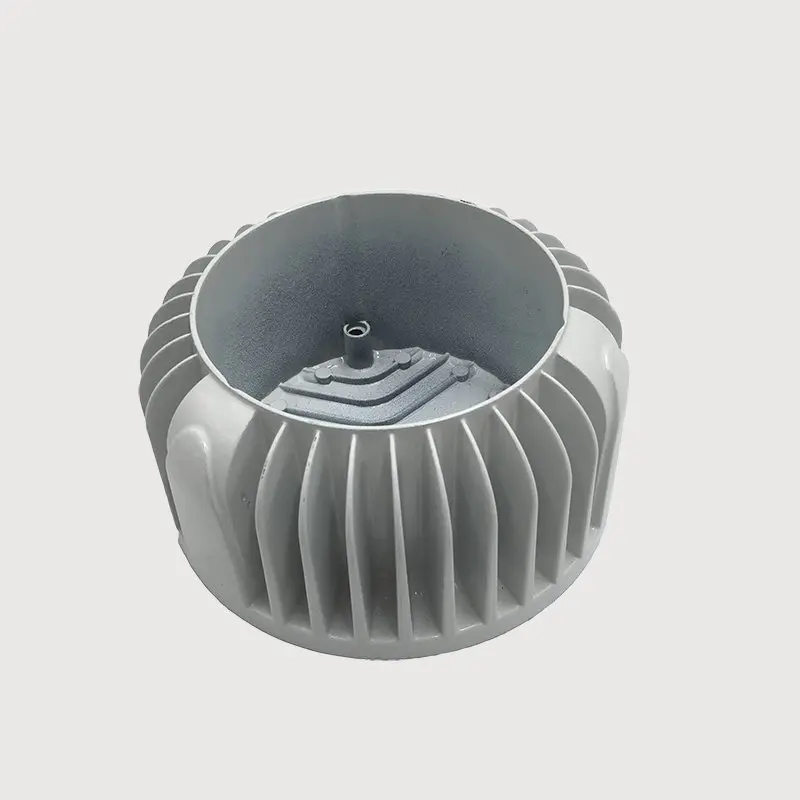
Many enthusiasts go deep into the world of metal casting to produce unique products.Some of them are decorative, while others have specific functions.For large production operations of more than 1,000 pieces, the consistency of each casting is very important.As a result, the permanent mold will be made of metal that can withstand the molten brass, or a wax pattern will be made for the investment casting process.However, most enthusiasts and short production runs can achieve acceptable results through cheap but effective sand casting processes.Create a pattern.All kinds of materials are suitable for this purpose.Wood is a classic option, but you can also make patterns with foam plastic.Just make sure that any material you choose can withstand being pressed into a box of sand.Remember to make the pattern larger than the finished casting, because brass occupies more space than the solid in a molten state.The linear expansion coefficient of brass is 0.0000104 inch degrees FahrenheitFor castings that need to be controlled in size, be sure to consider this expansion factor in order to create the pattern accurately.Assuming a room temperature of 72 degrees Fahrenheit and a melting point of 1,710 degrees Fahrenheit, all dimensions of the pattern need to be allowed to be at least 0.017 inch larger than solid castingMixing sand with clay, this process may take several trial runs to achieve the perfect mixture.Sand usually requires clay as a bonding material to help it maintain the impression of the mold, but the sand acts as a tiny vent to take away any gas generated by the casting process.Therefore, in order to obtain the desired casting quality, it may be necessary to experiment with the correct proportion of some clay and sand.Despite the challenges, this is part of the learning process that makes this interesting.Place the mixture of sand and clay in the box.If you have twoPart mold, you need to fill two boxes with this mixture.Be careful not to pack the sand and clay mixture too tightly or you may find it difficult to press the pattern.Place and press the pattern.Take the pattern of the casting and put it into the sand mixture.Another way is to partially fill the box with a sand mixture, place the pattern in the box, and then wrap around the pattern.If you have oneMold, remove the pattern, this process is completed.For a two-Part molds, you need to press the technical terms of the top and bottom parts, respectively, the pattern in the drawing and the drawing.With a two-Part mold, be sure to engrave the runner and prepare for the gate and vent.The latter specifies to prevent gas from being trapped in a finished casting.Assemble mold pieces.If there is only one piece of mold, then the process is completed.For the more complex molds, the Velcro and drag need to be assembled.Be sure to align the die and drag to reduce the parting lines shown during casting.If the casting has internal features, be sure to place the sand core in the appropriate position and keep the sand core stable with a brass priest.These pins are made of the same material that will enter the mold in a molten state and become part of the final casting.After the mold is assembled, it is now possible to receive the melted brass.
Custom message